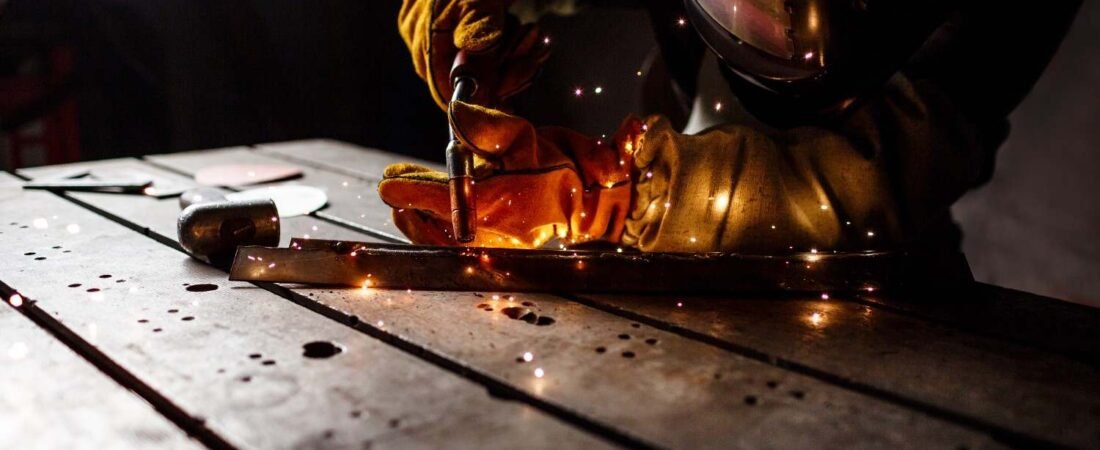
Sixteen-gauge sheet steel is thin enough that a small increase in heat can turn a clean bead into a hole. When I dial in MIG welder settings for 16-gauge steel, I focus on controlled heat, short-circuit transfer, small solid wire, and a test weld before touching the actual part.
For 16-gauge mild steel, about 0.060 inch (roughly 1.5 mm) thick, a practical working range is around 60–90 amps. With ER70S-6 solid wire and 75% argon/25% CO2 shielding gas, many setups fall around 15–18 volts. Wire feed speed varies by machine and wire diameter, so treat every chart as a starting point.
What Settings Should I Start With for 16 Gauge Mild Steel?
Short-circuit transfer is usually the most controllable MIG mode for this thickness. I prefer .023-inch wire for maximum heat control, although .030-inch wire also works well.
| Wire Diameter | Starting Voltage | Approx. WFS Range | Best Use |
| .023 in. | 16–17 V | 130–200 IPM | Maximum thin-sheet control |
| .030 in. | 15–18 V | 90–190 IPM | Versatile home/shop setup |
| .035 in. | 15–16 V | Machine-specific | Possible, but less forgiving |
Published settings vary because welders, joints, wire sizes, and machine calibration differ. I always check the chart inside the welder door or the owner’s manual first, then fine-tune the setup on scrap steel that matches the actual workpiece.
Is 60–90 Amps Enough for 16 Gauge Steel?
Yes. That range is useful for many 16-gauge mild-steel jobs. On a conventional constant-voltage MIG welder, wire feed speed largely drives welding current, while voltage controls arc length and influences bead shape.
If wire speed is too high for the selected voltage, the wire may repeatedly stub into the metal. Too much voltage for the available wire feed can make the arc erratic or cause the wire to burn back toward the contact tip.
Is .023 or .030 MIG Wire Better for 16 Gauge Steel?
For thin sheet metal, I generally choose .023-inch ER70S-6 solid wire because it takes less current to melt and gives me more margin against burn-through. It works particularly well for automotive body panels, thin brackets, appliance repairs, sheet-metal fabrication, and similar light welding jobs.
A .030-inch wire remains a strong option when I want one spool for both thin and moderately thicker steel. I am more cautious with .035-inch MIG wire because it usually requires more current and provides a narrower heat-control window.
With standard solid wire and shielding gas, I use DCEP polarity unless the wire or welding-machine manufacturer specifies otherwise.
What Shielding Gas Works Best for Thin Steel?
C25 shielding gas, which contains 75% argon and 25% CO2, is my preferred general-purpose choice for gas metal arc welding (GMAW) of thin mild steel. It creates a relatively smooth short-circuit arc while providing manageable penetration and lower spatter.
A gas flow rate of roughly 15–20 CFH is a practical indoor starting point. Increasing gas flow excessively does not automatically improve weld quality and can create turbulence around the weld zone.
Straight CO2 can also weld mild steel effectively, but it normally produces deeper penetration, a harsher arc, and more spatter. On thin automotive or fabrication work, C25 is often easier to control because it provides a more balanced arc performance for gas metal arc welding applications.
What Should a Properly Tuned MIG Arc Sound Like?
A properly adjusted short-circuit MIG arc often creates the familiar crisp “frying bacon” sound.
If the wire continually stubs into the steel and pushes the gun backward, I check for excessive wire feed speed or insufficient voltage. If the wire burns back toward the contact tip, I check for excessive voltage or inadequate wire speed.
Heavy spatter can also indicate incorrect polarity, poor shielding gas coverage, excessive stickout, or an improper balance between voltage and WFS. I prefer making small adjustments one at a time instead of changing several machine settings together.
Should I Push or Pull the MIG Gun on 16 Gauge Steel?
When MIG welding thin sheet metal, I generally use a slight push angle. Pushing typically produces a flatter weld profile and can help spread the heat instead of concentrating it deeply into the material.
I also maintain consistent stickout. Around 3/8 inch is a useful starting point when running solid MIG wire. Excessive stickout can make the arc less stable, while moving the gun too slowly can quickly increase heat input.
How Do I Prevent Burn-Through and Warping?
Good MIG welder settings for 16 gauge steel cannot compensate for leaving the arc in one place for too long. Controlling weld duration is especially important on automotive panels and other distortion-sensitive sheet metal.
Instead of laying long continuous beads, I use tack welds, overlapping spot welds, or short stitch welds. When the joint allows it, sections of roughly 1–2 inches can help limit heat buildup. On long seams, I move between different areas and let previously welded sections cool.
Fit-up also affects heat control. Large gaps require more filler wire and more time under the arc, increasing the possibility of burn-through and warping. Clean, tight, consistent joints are much easier to weld.
Can a 120V MIG Welder Handle 16 Gauge Steel?
Yes. A quality 120V MIG welder can handle 16-gauge mild steel when connected to the correct circuit and operated within its rated output and duty cycle.
A 240V MIG welder provides more capacity for thicker material and longer welding periods, but 240V input is not necessary simply because you are welding 16-gauge.
Wall-input voltage should not be confused with welding voltage. A machine that runs from a 120V electrical circuit can still produce the roughly 15–18V welding arc used for thin sheet metal.
How Do I Know If My MIG Settings Are Too Hot or Too Cold?
A setup that is too hot may create an excessively flat bead, undercut, panel distortion, a large heat-affected zone, or complete burn-through. I first check whether I am traveling too slowly or keeping the arc active for too long before reducing the machine settings.
A cold setup often produces a tall bead that does not tie smoothly into the base metal. The arc may also stutter. In that situation, I adjust voltage and wire feed speed in small increments and test again.
Using scrap that matches the material thickness, joint design, position, wire, and shielding gas gives me the most useful test.
Frequently Asked Questions (FAQs)
1. What wire size should I use for MIG welding 16 gauge steel?
I prefer .023-inch ER70S-6 solid wire when maximum heat control matters. .030-inch wire also works well and offers more versatility when the same welder handles different material thicknesses.
2. What transfer mode should I use for 16 gauge sheet metal?
Short-circuit transfer is generally the most practical choice. It provides good puddle control while keeping heat input relatively low, which helps reduce burn-through and sheet-metal distortion.
3. Can I use .035 MIG wire on 16 gauge steel?
Yes, but it would not be my first choice. .035-inch wire is less forgiving than .023 or .030 wire on thin sheet and can increase the chance of excess heat if the machine is not carefully tuned.
4. What are the best MIG welder settings for 16 gauge steel?
I would start around 60–90 amps, approximately 15–18 volts, ER70S-6 solid wire, C25 shielding gas at roughly 15–20 CFH, and short-circuit transfer. Wire feed speed depends heavily on the wire diameter and machine, so I use the manufacturer’s settings chart first and fine-tune on scrap.
Final Thoughts
Sixteen-gauge steel does not require an extremely powerful welder; it requires control. I get better results by choosing smaller wire, balancing voltage and wire feed speed, maintaining the correct polarity and stickout, and limiting how much heat enters one area. Compared with typical mig welder settings for 1/8 steel, 16-gauge sheet usually needs a gentler setup to reduce the risk of burn-through and distortion.
Once the arc sounds stable, the weld bead ties smoothly into both sides of the joint, and the sheet remains flat without burning through, I know the setup is close. Rather than relying on one universal voltage-and-wire-speed combination, I use recommended settings as a baseline and let the actual weld tell me what needs adjustment.