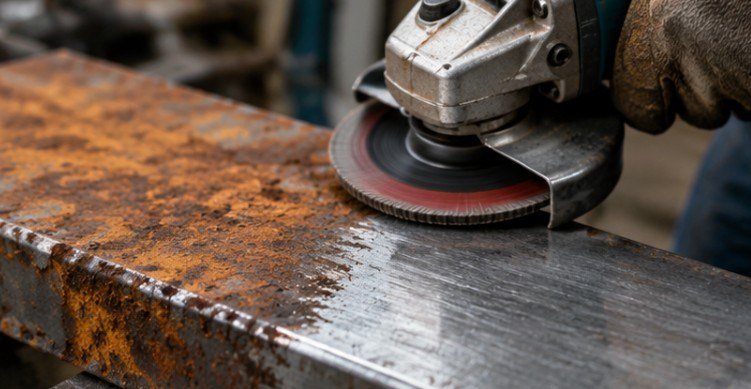
A weld can fail before the first spark ever reaches the metal. The biggest mistake many repair welders make is focusing on machine settings while ignoring the surface condition of the material. Learning how to prepare metal for welding repair properly is often the difference between a weld that lasts for years and one that cracks, contaminates, or separates under stress.
Rust, paint, grease, moisture, mill scale, and hidden coatings can interfere with penetration and create defects inside the weld bead. Even a skilled welder using quality equipment can struggle if the base metal is not clean and properly fitted.
Metal preparation is not just cosmetic cleanup. It is a controlled process that improves weld strength, reduces defects, and makes the repair more predictable.
Why Metal Preparation Determines Weld Quality
A welding arc needs direct contact with clean, stable material to create proper fusion. Contaminants can disturb the arc, trap gases inside the weld pool, and weaken the connection between the filler metal and base material.
For example, welding over oil or grease can introduce hydrogen and carbon contamination into the weld area. This may contribute to porosity, cracking, or an uneven bead profile. The American Welding Society (AWS) emphasizes proper cleaning and preparation as an important part of producing sound welds.
The preparation process also depends on the type of metal being repaired. Mild steel, stainless steel, and aluminum each require different cleaning methods because their surface layers behave differently during welding.
Start With Inspection Before Grinding
Before touching an angle grinder, inspect the damaged area carefully. A repair is only as strong as the remaining metal around it. But how to tell if a weld needs repair?
Look for:
- Cracks extending beyond the visible damage
- Thin, weakened metal caused by corrosion
- Oil contamination from machinery
- Paint, coatings, or galvanized layers
- Previous failed welds or repairs
A common mistake is welding over heavily rusted material because the surface looks solid. If corrosion has reduced the thickness significantly, adding more weld metal may only hide the problem temporarily.
For structural repairs, identify whether the damaged area requires reinforcement, replacement material, or a complete section removal.
Remove Contaminants Before Using Abrasives
The first cleaning stage is removing substances that can spread during grinding.
Degrease the Surface
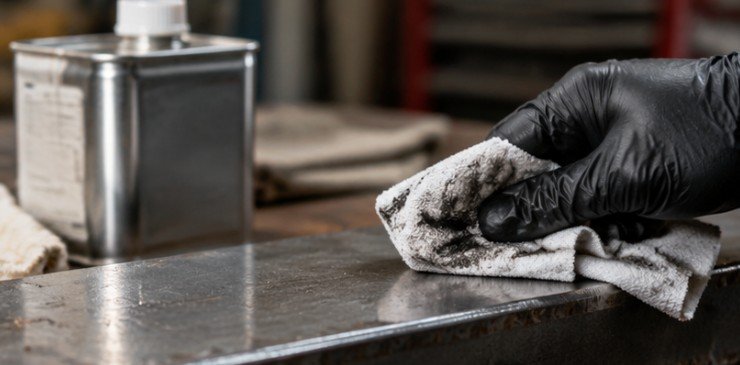
Oil and grease should be removed before abrasion. Grinding contaminated metal can heat the surface and push oils deeper into small pores, making later cleaning more difficult.
A practical preparation sequence is:
- Remove heavy grease with an appropriate solvent.
- Allow the cleaner to evaporate completely.
- Wipe away residue using a clean, lint-free cloth.
- Continue with mechanical cleaning.
Solvents such as acetone are commonly used in fabrication environments because they evaporate quickly and leave minimal residue when used correctly.
The Occupational Safety and Health Administration (OSHA) provides guidance on controlling chemical hazards and proper handling of solvents in workplaces.
Remove Rust, Paint, and Surface Coatings
Once the surface is free of grease, remove anything that can interfere with fusion.
Abrasive preparation methods include:
| Contaminant or Surface Condition | Recommended Preparation Method |
| Light rust | Flap disc, abrasive pad, or wire brush |
| Heavy rust and scale | Grinding wheel or aggressive wire wheel |
| Paint and coatings | Grinding or stripping before welding |
| Mill scale on steel | Abrasive removal until clean metal appears |
| Aluminum oxide layer | Dedicated stainless steel brush or careful abrasion |
For mild steel, many welders use flap discs because they remove contamination while allowing better control than aggressive grinding wheels. Removing too much base metal can create thin spots and unnecessary repair work.
The National Institute for Occupational Safety and Health (NIOSH) provides information on controlling hazards related to welding fumes and metalworking operations. NIOSH Welding and Manganese Exposure Resources
Prepare Different Metals Correctly
Not every metal should be cleaned the same way.
Mild Steel
Mild steel is generally the easiest material to prepare. Remove rust, paint, oil, and mill scale until the weld area shows clean, bright metal.
For many repairs, cleaning an area slightly wider than the weld zone helps prevent contamination from nearby surfaces.
Aluminum
Aluminum requires special attention because it naturally forms an oxide layer. This oxide melts at a much higher temperature than aluminum itself, which can interfere with proper welding.
Use a dedicated stainless steel brush that has not been used on other metals. Cross-contamination from steel particles can create welding problems.
Stainless Steel
Stainless steel preparation requires clean tools to prevent iron contamination. Using the same grinding wheels or brushes used on carbon steel can introduce particles that later cause rust spots.
Fit the Joint Before Welding
Clean metal alone does not guarantee a strong repair. The pieces must also be positioned correctly.
Good fit-up helps control heat input, penetration, and distortion.
Before welding:
- Align the damaged sections properly.
- Remove sharp edges or uneven gaps.
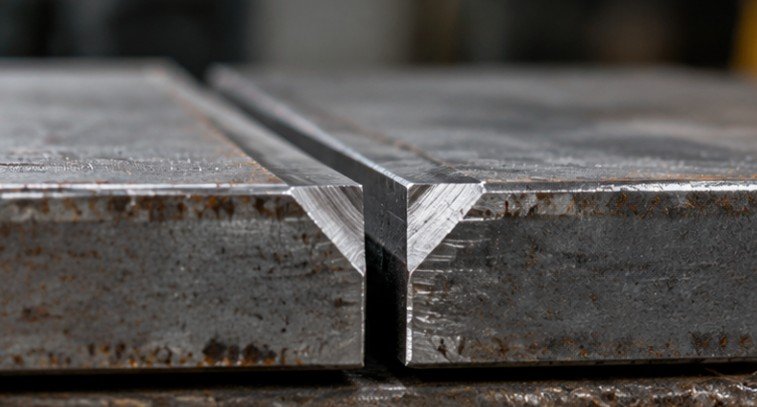
- Add a bevel when thicker material requires deeper penetration.
- Clamp parts securely when possible.
A groove or bevel gives the weld access to more surface area inside thicker sections. However, excessive grinding can weaken the repair by removing unnecessary base material.
The American Welding Society provides technical resources and standards related to welding practices and quality control.
Final Cleaning Before Striking the Arc
The last cleaning step is often overlooked. After grinding, metal dust and abrasive particles can remain on the surface.
A final preparation routine:
- Brush away loose particles.
- Wipe the weld area with a clean cloth.
- Remove remaining residue with a suitable cleaner.
- Allow the surface to dry completely.
Avoid touching the prepared area with dirty gloves or oily hands. Skin oils can reintroduce contamination immediately before welding.
For additional guidance on safe welding practices, the American Red Cross also provides general workplace safety education resources related to emergency awareness and injury prevention. American Red Cross Workplace Safety Resources
A Simple Metal Preparation Checklist
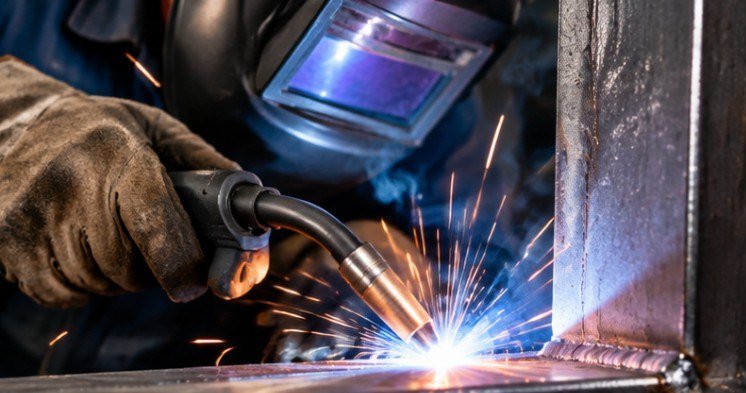
Before starting a repair weld, confirm:
✓ The damaged area has been inspected for hidden cracks
✓ Grease and oil have been removed
✓ Rust, paint, and coatings are cleared away
✓ The correct cleaning tools are used for the metal type
✓ The joint fit-up allows proper penetration
✓ The surface is dry and free from dust
This checklist takes only a few minutes but can prevent hours of grinding out failed welds later.
Common Preparation Mistakes That Reduce Weld Strength
One frequent mistake is grinding only the visible crack while leaving surrounding corrosion untouched. Cracks often continue beyond what the eye can see.
Another mistake is using the same brush or abrasive tool on different metals. Steel particles left on stainless steel or aluminum can create contamination problems.
Some welders also over-clean by removing excessive material. The goal is not to reshape the entire component; it is to create a clean, strong welding area.
For repair projects involving equipment, machinery, or vehicles, understanding the complete preparation process is essential. A properly prepared surface combined with the right welding technique creates a much stronger repair. You can also review related guidance on welding repair preparation methods through additional fabrication resources.
FAQ
1. Can I weld over rust if it is only surface rust?
Light surface rust should be removed before welding. Welding over rust can trap contaminants and reduce weld quality.
2. What is the best cleaner before welding metal?
A fast-evaporating solvent such as acetone is commonly used after removing heavy contamination, but always follow safety instructions.
3. Should I grind metal completely shiny before welding?
Not always. Remove rust, coatings, and contamination, but avoid removing unnecessary base material.
4. How clean does aluminum need to be before welding?
Aluminum should be free of grease and have its oxide layer properly removed using dedicated tools.
Final Thoughts
Make sure to inspect welding equipment before use. The strongest repairs usually begin before the welding machine is turned on. Clean metal gives the arc a stable foundation, improves penetration, and reduces the chances of defects hidden inside the weld.
Understanding how to prepare metal for welding repair means treating preparation as part of the weld itself, not as an optional cleanup step. Take time to inspect, clean, fit, and protect the repair area. A few extra minutes with a grinder, brush, and solvent can determine whether the finished weld becomes a reliable fix or another problem waiting to happen.