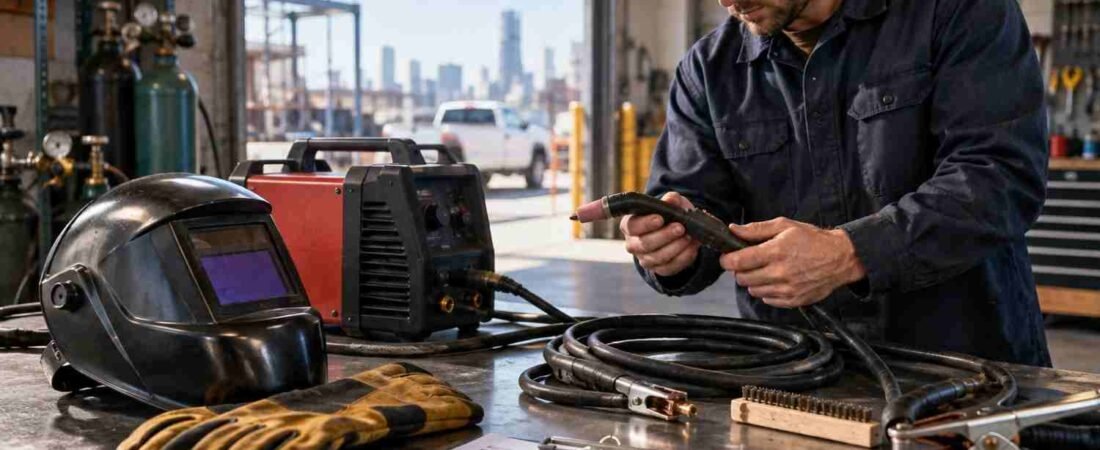
I used to think a welding inspection was mostly about checking whether the machine powered on. After seeing how quickly a worn lead, loose connection, or damaged hose can become a serious problem, I started treating the pre-use check as part of the job itself, not a box to tick.
I also found that the best inspections are simple and repeatable. A careful look at the machine, cables, gas equipment, work area, and protective gear can catch problems before heat, electricity, and pressure are involved.
Start With the Welding Machine
Begin with the machine itself. Look over the enclosure for dents, cracks, corrosion, loose panels, missing hardware, or other damage.
Check the power switch, controls, and displays for visible damage and secure operation. Do not use controls that are cracked, loose, or behaving unpredictably.
Ventilation deserves attention too. Welding machines generate heat, so cooling openings need to stay clear. Dust, metal particles, and debris can restrict airflow and contribute to overheating.
Inspect Cables, Leads, and Connections
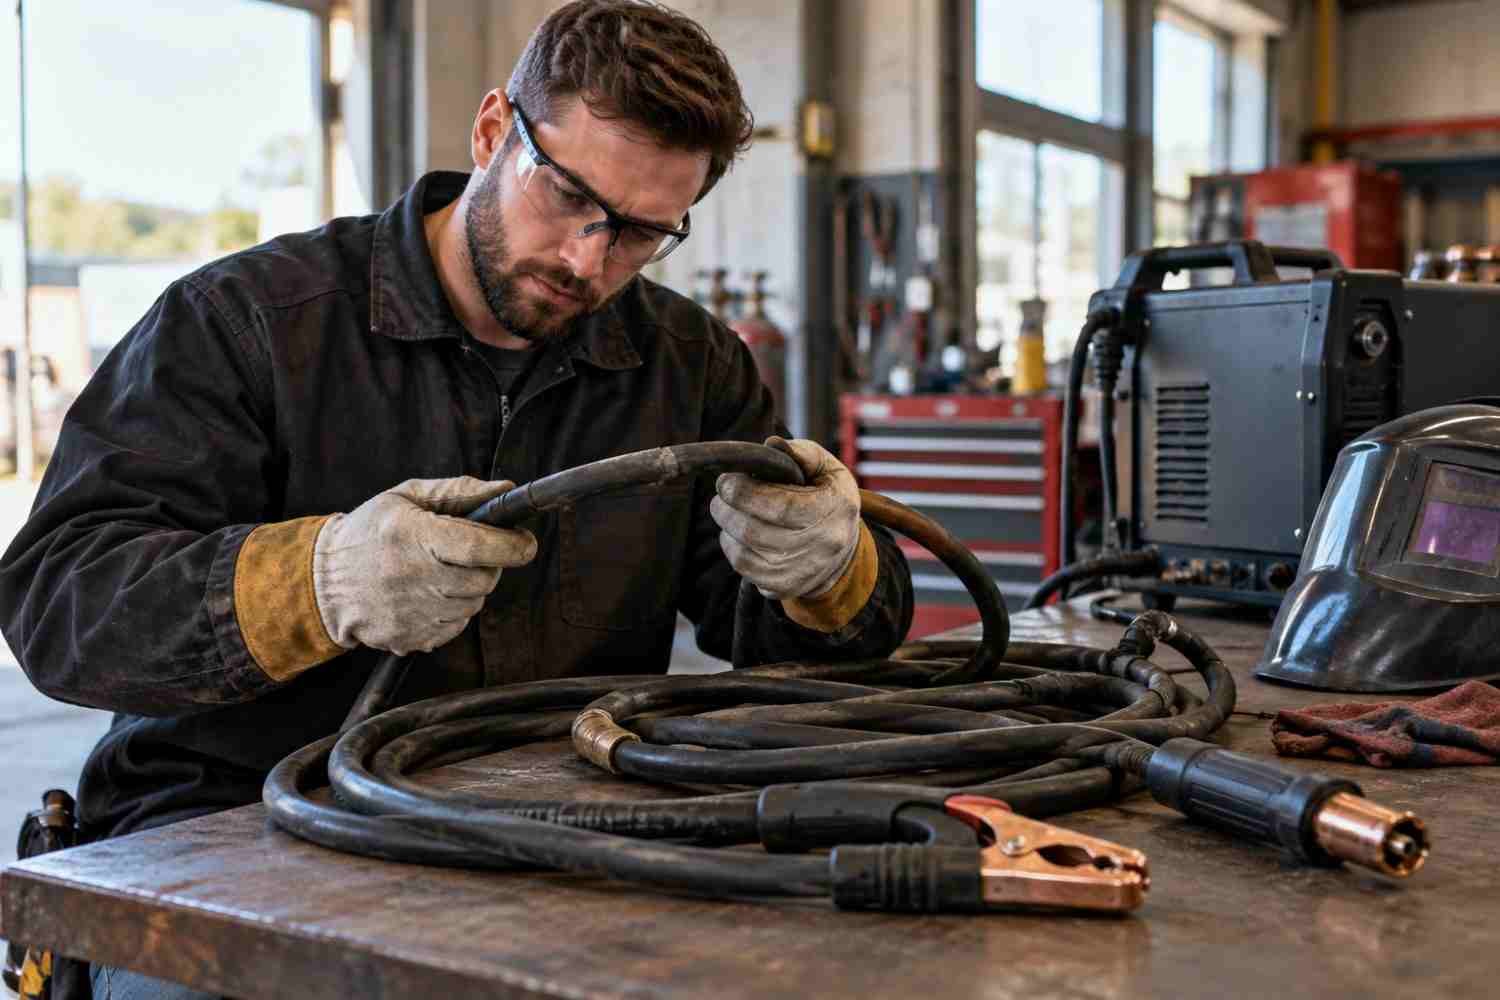
Electrical checks can prevent a nasty surprise. Examine the power cord, plug, welding leads, and connectors along their full length. Look for cuts, melted insulation, exposed conductors, crushed sections, or signs of overheating.
Pay particular attention to connection points. Dark marks, melted material, or evidence of arcing can indicate a loose or damaged connection.
Inspect the electrode holder, MIG gun, or TIG torch for cracked insulation, damaged handles, loose parts, and worn components.
Electrical testing should be handled carefully. If wiring or grounding is questionable, take the equipment out of service.
Check Gas Cylinders, Hoses, and Regulators
MIG and TIG welding rely on shielding gas, while oxy-fuel work adds pressure and fuel-gas hazards. Start by checking cylinders for obvious damage and making sure they are stored and secured correctly.
Next, examine regulators, gauges, hoses, and fittings. Hoses should not have cracks, severe kinks, abrasion, or deterioration. Gauges should be readable, and equipment should be compatible with the gas being used.
If a leak is suspected, stop before welding. An approved leak-detection method can help identify problems at fittings and connections. Never use a flame to search for a gas leak. For oxy-fuel systems, required safety devices such as flashback arrestors should be installed and maintained according to applicable procedures.
Look at the Work Area Too
A sound machine does not make an unsafe work area safe. Before welding, inspect the space for combustible materials, spills, clutter, and anything that could catch fire from sparks, slag, or hot metal. Move unnecessary flammable items away and follow site fire-prevention procedures.
Ventilation is equally important. Welding fumes can contain hazardous substances, and the right control depends on the material, process, and workspace. Use local exhaust or suitable fume extraction where required, and make sure ventilation does not push contaminants toward another worker.
PPE belongs in this inspection too. Confirm that the welding helmet, lens, gloves, flame-resistant clothing, eye protection, footwear, and other required equipment are in good condition and appropriate for the task.
Prepare the Metal Before You Weld
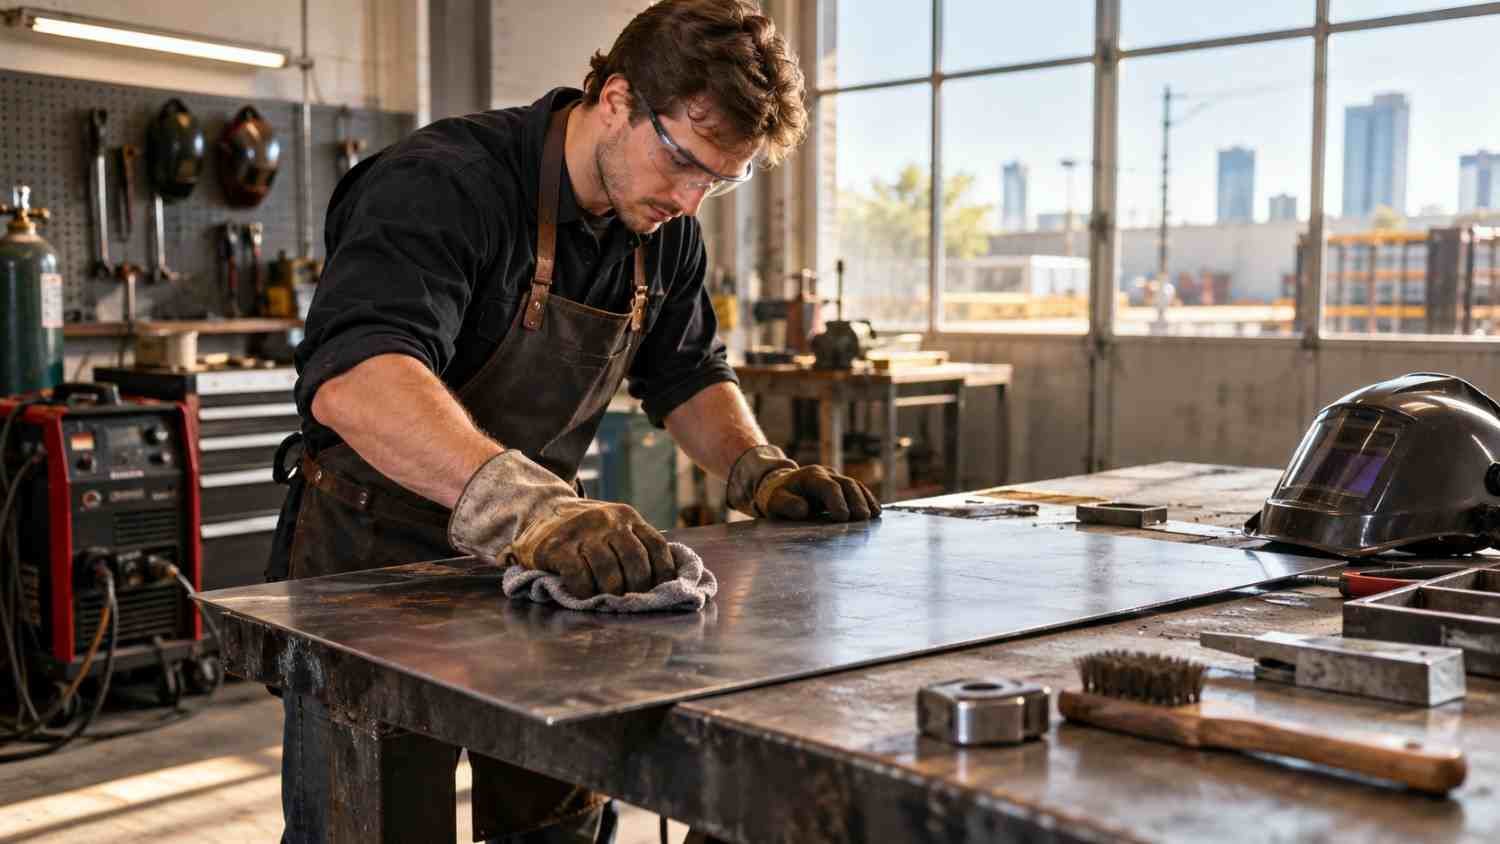
Equipment inspection and material preparation work together. Rust, oil, paint, moisture, mill scale, and other contaminants can interfere with welding and contribute to defects or unwanted fumes.
Clean the joint using an appropriate method for the material and coating. Never assume a clean-looking surface is ready for every welding procedure.
Also confirm that the planned process, consumables, shielding gas, settings, and materials match the job requirements. Following the welding procedure and manufacturer’s instructions helps prevent avoidable mistakes.
Know When to Stop
The most useful part of learning how to inspect welding equipment before use is knowing that an inspection can end with a decision not to weld.
A damaged cable, leaking hose, faulty regulator, cracked torch handle, defective clamp, compromised cylinder, or questionable electrical connection is not something to work around casually. Tag or isolate defective equipment according to workplace procedures, report the problem, and arrange the appropriate repair or replacement.
For field work, this discipline becomes even more important. Portable setups may face weather, uneven surfaces, transportation damage, and changing power sources. Following mobile welding safety procedures can help make the inspection consistent when the job moves between locations.
Make the Check Part of Every Job
A reliable pre-use routine should happen before every welding task, not only after equipment has been stored. Exact checks vary with the welding process, equipment, workplace, and manufacturer’s requirements.
A useful sequence is straightforward: inspect the machine, trace every cable, check the holder or torch, verify the ground connection, examine gas equipment when applicable, assess the work area, and confirm PPE. For larger crews, documenting recurring checks through a welding safety checklist for job sites can make responsibilities clearer and help prevent steps from being forgotten.
The goal is not to make welding slower. A few deliberate minutes spent finding a damaged component are easier to manage than an electrical injury, fire, gas incident, equipment failure, or defective weld discovered after the work is finished.
The Habits Worth Keeping
Good welding safety often comes down to ordinary habits performed consistently. A methodical inspection creates a pause between setup and introducing heat, electricity, and pressure into the job.
When every inspection ends with confidence in the equipment, the work can begin with fewer surprises and a clearer focus on producing a safe, sound weld. That pause can protect people, equipment, materials, and the quality of the finished weld from preventable problems.
FAQs: How to Inspect Welding Equipment Before Use: A Step-by-Step Look
1. What should I check first on a welding machine?
Start with the housing, controls, ventilation openings, power cord, and plug. Look for physical damage, overheating, contamination, or loose components before operating the equipment.
2. How do I inspect welding cables?
Inspect the entire length. Look for cuts, exposed conductors, melted insulation, crushing, abrasion, and damaged connectors. Repair or replace defective cables according to workplace and manufacturer requirements.
3. How can I check welding equipment for gas leaks?
Inspect hoses, regulators, valves, and fittings. If a leak is suspected, use an approved leak-detection solution. Never use an open flame to find a leak.
4. When should welding equipment be removed from service?
Remove equipment when it has damaged insulation, leaking hoses, faulty controls, compromised regulators, cracked insulated components, questionable grounding, or other defects that could create a hazard.